Easy Ways to Try Web Monetization
Here are some plug-and-play ways to get started.
You’ve created a Coil account, opened a digital wallet at Uphold, and used your payment pointer to link the two. These pieces – Coil + Uphold + payment pointer – enable Web Monetization. Once you have the three pieces working, you’re ready to link your content.
Here are some easy ways to enable Web Monetization on your own content.
YouTube
Coil offers an easy, one-step process for monetizing your YouTube channel.
Go to your Coil Creators Monetization page. This is where you added your payment pointer and connected your Uphold wallet.
At the bottom of the page you will see Monetize YouTube Channel.
Simply press Add Channel and follow the OAuth flow to connect Coil to your YouTube channel. Allow Coil access, and voila, your YouTube channel is now Web Monetized. This means that when users with Coil membership watch your video, they will stream payments to your account.
Free Music Archive.
The Free Music Archive (FMA) makes available open license music from independent artists around the world. If you have music you want to share under such a license, FMA is a good way to get started with Coil and Web Monetization.
Your first step is to sign up for an account. You’ll be asked for a password and to verify your email address. You will now be an FMA Member.
To become an FMA Musician, you need to create an account and then email the administration, meghan@tribeofnoise.com with the subject line “FMA artist account.” Your account will be changed from Member to Artist.
If you have an existing page on FMA – you should check; search for your name on the site – you can claim it. As FMA writes on their support page:
Go to your FMA artist page
Under the Bio section, click on the “Claim This Page” button
Add the information required, check the boxes and agree
To Finalize, scroll below and click on the “Claim your page” button
If you have an artist account on FMA and become a Coil creator, you can easily add your Coil payment pointer to your FMA profile. Go to your Artist page. Go to the Edit button and select the Monetization section. Here you will be able to add your payment pointer.
Monetized.
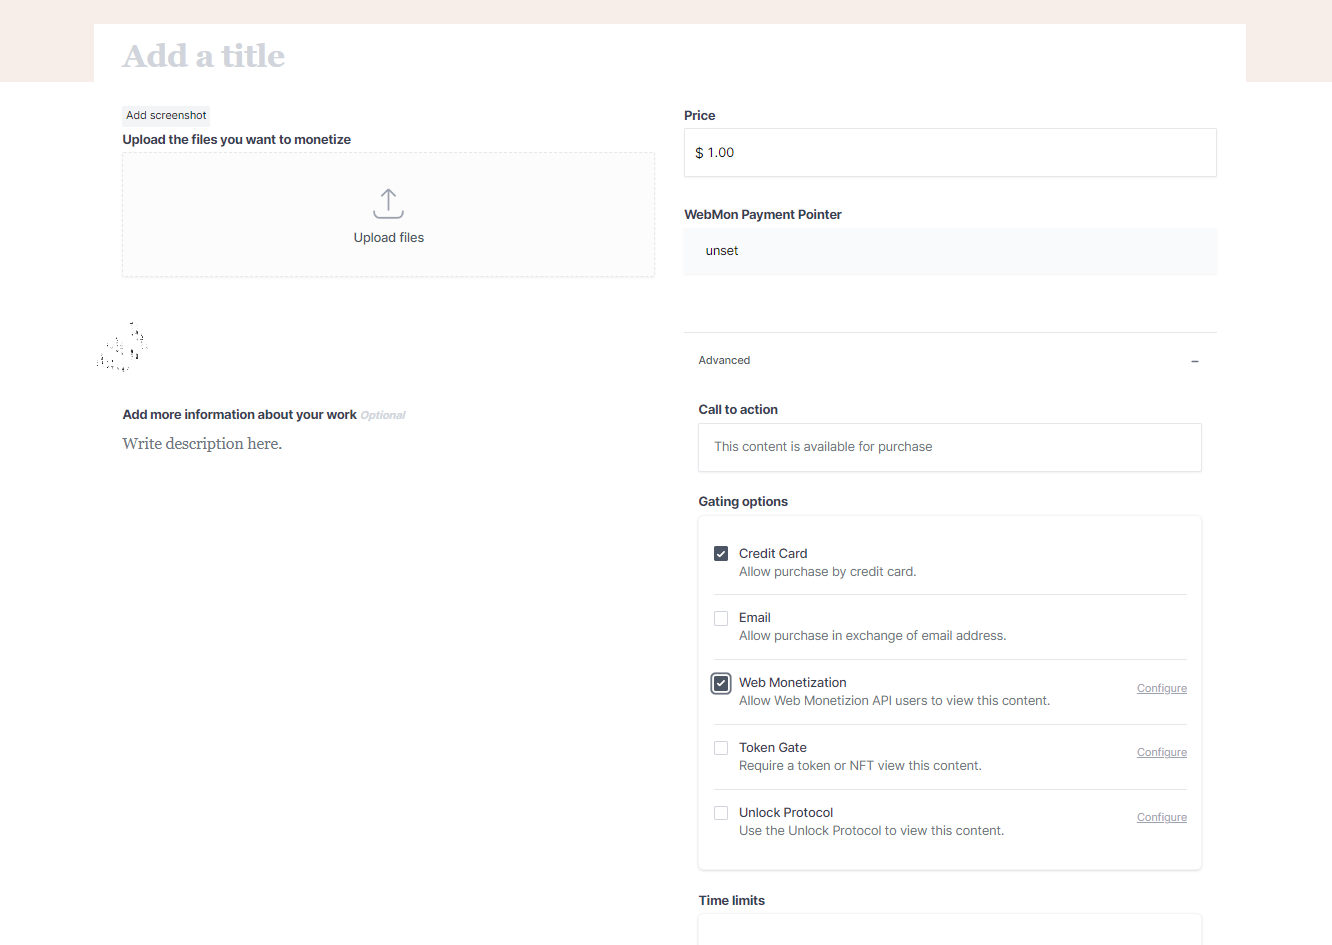
Monetized is a new tool for gating digital content. Content can be added by file uploads, content embeds, and link redirects. Monetized works on the URL level. Each piece of gated content receives its own monetized link and a payment-gated landing page.
To get started, sign up for an account. Link your content. You can link URLs or Notion pages. You can also upload files and embed video and audio in a new post.
After you link your content, set your price and payment method. Select Web Monetization. Press the button to Configure to add your payment pointer.
Publish your page. Share your link. Anyone who follows the link will come to a payment-gated landing page. Now only your Web Monetized fans can access your page. A button will prompt users to sign up for Web Monetization at Coil.
Add Coil to your WordPress site
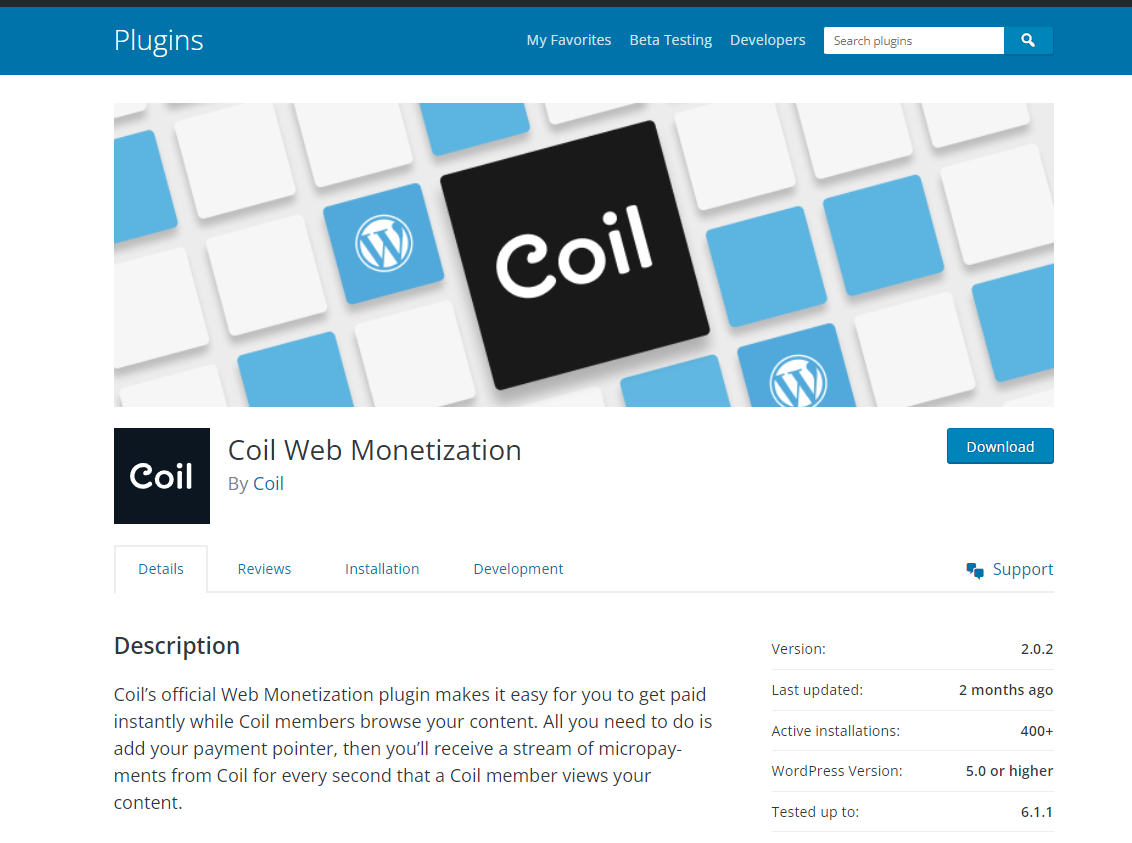
If you use WordPress, there is an easy way to get your site Web Monetized and offer premium content to Web Monetized users. Coil makes a plugin for WordPress. The plugin applies the Web Monetization meta tag to each page of your website. It lets you customize the visibility of posts. This means that you can offer premium content to your Web Monetized users.
From your WordPress admin dashboard, go to Plugins and click on Add New. Search for Coil. Install Coil Web Monetization plugin.
Click Activate. Once it’s installed, the plugin will appear as an option on your WordPress admin dashboard.
You’ll need to add your payment pointer. Select the Coil plugin and go to the Global Settings tab. Add your payment pointer and click on Save Settings. Your WordPress site is now Web Monetized.
The default settings for your content will Web Monetize your posts and pages AND keep them public. You can change these settings from the Content Settings tab in the Coil plugin.
For more on customizing your WordPress plugin, check out this video tutorial from Artist Rescue Trust:
If your site is not a WordPress site, you can still add Web Monetization by adding a single HTML tag into the header of your website. This involves editing the HTML of your site.
If you’re interested in a technical overview of the process of adding Web Monetization to a web page, Web Monetization.org has an overview to get you started.
To make the process as easy for you as possible, Coil provides you with a meta tag that can be added to your website. You can find this tag on your Coil Creators page where it has been customized for your payment pointer.
For information on adding Web Monetization to your own website using HTML, please watch this video tutorial from Artist Rescue Trust:
Web Monetization for the Arts is a course on streaming payments designed for classical musicians and small performing arts groups. The project is funded by Grant for the Web.


